


BOSS
Boss Waza Tube Amp Expander

- SKU:
- WAZA-TAE
- UPC:
- 761294513590
- Condition:
- New
- Availability:
- In Stock, Order by 3:00PM EST for same day shipping.
- Weight:
- 20.00 LBS
- Shipping:
- Free Shipping
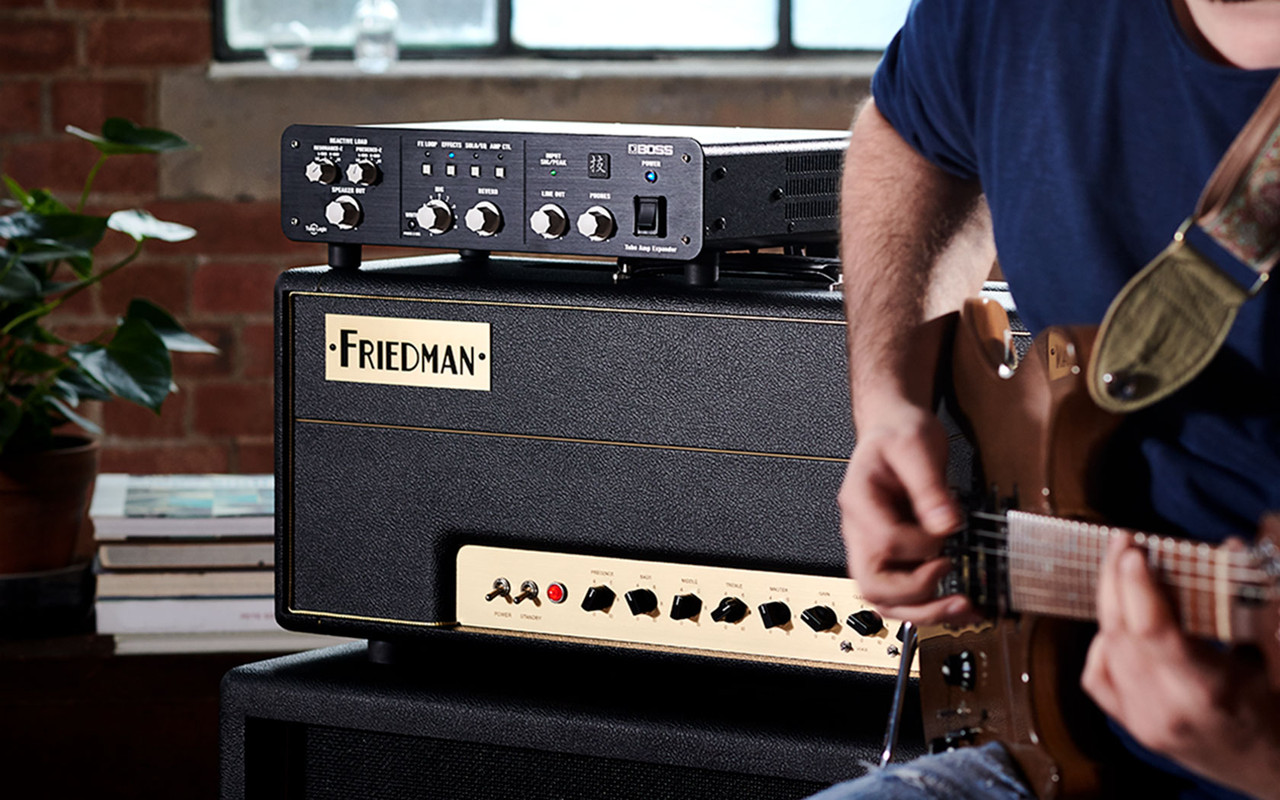
The Boss Waza Tube amp expander is designed to help you get your tube amp sounding the best that it ever has. Many guitarists are familar with turning up thier volume and truly opening up their tube amp on stage. their rig sounds and feels best when it’s dialed up loud. But while you may love it, the resulting sound level is usually just too intense for most practical purposes. In short, The Waza Tube expander allows you to achieve that Cranked Tube Amp feel at any volume.
-
Front Panel
-
Resonance - Z
-
Presence - Z
-
These 2 controls are part of "Reactive Load". The reactive load is a load that, as seen by the tube amp, behaves like an actual speaker. In order to obtain optimal sound from a variety of tube amps, this unit lets you adjust the impedance of the reactive load. Both of these controls provide direct access to 16 different impedance curves, allowing you to choose the best interaction with any tube amp up to 150 watts. A variety of options are available, which represent classic cabs loaded with different speaker types. In addition to providing the tone and feel you’re used to with your amp, this variety also lets you explore the effect of speaker types and configurations you wouldn’t normally use. Suggested settings are right on top of the Waza Tube Amp Expander, so it’s easy to dial things in quickly.
-
Speaker out
-
The level of signal being sent to your speaker
-
FX Loop Button
-
Switches the Effects Loop on and off
-
Effects
-
The Waza Tube Amp Expander has built in Compression and Delay that are turned on and off with this button
-
Solo/EQ
-
Turns on/off your Equalizer. By raising the volume of your EQ using the dedicated software, it can also double as a Solo boost.
-
Amp CTL
-
Switches the Tube Amp's Channel
-
Input/Signal Peak indicator
-
This LED Light will illuminate Green when signal is received, and red when the signal level is excessive.
-
Rig Selection
-
With the "Rig" selection, you can recall up to 10 different settings that you have saved. You can save your settings with the adjacent "Write" Button.
-
Reverb
-
Controls the Reverb Depth
-
Line out
-
Controls the output volume of your Line Out L/R Jacks
-
Phones
-
Controls the output volume of your Headphone Jack
-
Power Switch
-
Turns the unit on or off. The switch is accompanied by a LED light that lights Blue when on. When Overhead protection operates, it will flash yellow or red.
-
Rear Panel
-
To Speaker A & B
-
Connect speakers. OUT A and OUT B are connected in parallel. If you connect to both OUT A and OUT B, ensure that the total impedance is 4 Ω or higher. For example, if an 8 Ω speaker is connected to each of the OUT A/B jacks, the total impedance will be 4 Ω. * If you don’t need to connect a speaker, it is not a problem to leave these jacks unconnected. * For a combo amp with the speaker and amp in a single unit, disconnect the speaker cable that is connected to the amp, and connect it to this unit’s TO SPEAKER OUT A or B jack. If the speaker cable is not long enough to reach this unit.
-
From Tube Amp
-
Connect the tube amp’s speaker output here. You can connect a tube amp whose output is up to 150 W. If the tube amp has multiple speaker outputs, connect only this unit. If a speaker is also connected in addition to this unit, the tube amp might malfunction. * Do not connect any equipment other than a tube amp. Doing so may cause this unit or the connected device to malfunction. This Jack has an OHM Selection Switch, Set this to match the output impedance of the tube amp that’s connected. For a 2Ω tube amp, set this to 4 Ω. * Before changing the setting of the impedance switch, you must power-off the tube amp!
-
Input Level Switch - Set this to match the output wattage of the connected tube amp. If the tube amp’s output wattage is between 10 W, 50 W, and 100 W, for example if it is 20 W, input sound with either the 10 W or the 50 W setting, and use the setting for which the front panel INPUT SIG/PEAK indicator does not light red.
-
Phones out
-
Line out
-
Mono (FOH)
-
Right
-
Left
-
FX Loop
-
Here you can connect a footswitch (sold separately: FS-6, FS-7, or FS-5L) and use it to turn the external effect loop (FX LOOP) on/off.
-
GA-FC
-
Here you can connect a GA-FC (sold separately) and use it to switch RIGs or turn effects on/off. For details, refer to “Using the Foot Control Function” (p. 8).
-
MIDI Thru/out
-
Connect an external MIDI device here. For detail refer to “Connecting with an External MIDI Device” (p. 10).
-
Midi In
-
USB
-
Use a USB cable to connect to a computer and exchange audio/ MIDI data between the WAZA Tube Amp Expander and the computer. For detail refer to “Connecting to a Computer” (p. 10).
-
FX Loop
Shipping
We can ship to virtually any address in the world however our Website is optimized for USA sales. Note that there are restrictions on some products, and some products cannot be shipped to international destinations.
When you place an order, we will estimate shipping and delivery dates for you based on the availability of your items and the shipping options you choose. Depending on the shipping provider you choose, shipping date estimates may appear on the shipping quotes page.
Please also note that the shipping rates for many items we sell are weight-based as well as Distance based and now Dimensional weight based (the actual size of the shipping box) . The weight of any such item can be found on its detail page. To reflect the policies of the shipping companies we use, all weights will be rounded up to the next full pound. Please note that some shipping companies ship by Box Size
We ship primarily through UPS, but can also ship through the United States Postal Service or FedEx at the buyer’s request. For any Worldwide shipments we use UPS or USPS. The shipping price you are charged covers transit, insurance, proper packing, and tracking. If you prefer another shipping method please let us know so we can accommodate your needs. In the event of damage in transit we will help facilitate a claim with the shipping company to ensure full refund.
Returns Policy
We offer a 72 hour approval period on all guitars, amplifiers, and pedals from the date of purchase for in store transactions or date of delivery for internet orders. This approval period is for the buyer to make sure that the instrument is in the condition and originality we advertised. In the event of any return the buyer pays all shipping and insurance costs, both to and from, as well as any other fees associated with the transaction.
You should expect to receive your refund within 2 business days of us receiving your package from the return shipper. This time period does not include the transit time for us to receive your return from the shipper (5 to 10 business days), the time it takes us to process your return once we receive it (1 to 3 business days), and the time it takes your bank to process our refund request (5 to 10 business days).
PLEASE CALL US FIRST at (570) 909-9216 If you need to return an item, You can then simply login to your account, view the order using the "Complete Orders" link under the My Account menu and click the Return Item(s) button. We'll notify you via e-mail of your refund once we've received and processed the returned item.
For logistical reasons we are unable to accept returns or cancellations on any item that was special ordered. All returns must be approved by phone or email and must be returned in the exact condition they left our store. Any item returned not in the same condition it left our store is subject to a 20% restocking fee at our sole discretion. For logistical reasons we are unable to accept returns on any transaction involving a trade, both in store and online. Unauthorized returns will be refused and returned at customer's expense. Please know we go to great lengths to ensure with 100% confidence that you are getting the exact item you purchased in the condition and originality described. We strive to earn your business.
Layaway
We offer a 60 day layaway program for all items in our store. A 20% non-refundable deposit is required and hold the item for up to 60 days. In the event of layaway cancellation, the 20% deposit will be forfeited.
Accepted Methods of Payment
Cash, Visa, Mastercard, Discover, American Express, PayPal and Wire Transfer. If you have any questions regarding payment please ask.
Related Products

BOSS
BOSS Waza Air Wireless Personal Guitar Amplification system
A Revolutionary New Tone Experience for Guitar Fusing premium amp and effect tones with breakthrough BOSS spatial technology, the revolutionary Waza-Air takes the guitar experience wher
")
BOSS
Boss TU-3w Waza Craft Tuner Pedal
With the TU-3W, BOSS brings Waza Craft mojo to the world’s leading stompbox tuner. At its core, the TU-3W provides rock-solid tuning equivalent to the industry-standard TU-3. In true Waza tradition,...
")
BOSS
Boss CE-2W Waza Craft Chorus Pedal
Launched in 1976, the CE-1 Chorus Ensemble was not only the world’s first chorus effect pedal, but also the very first BOSS pedal. Three years later, this inventive new sound was squeezed into the...
")
BOSS
Boss VB-2W Vibrato Waza Craft Pedal
Ahead of its time when it debuted in 1982, the VB-2 Vibrato has been rediscovered by modern players looking to create unique guitar textures with stompbox effects. Thanks to its expressive,...
")
BOSS
Boss SD-1W Super Overdrive Waza Craft
THE SWEET OVERDRIVE TONE HAS A PRIME REDESIGN Passionately designed by the master engineers at BOSS in Japan, the Waza Craft SD-1W Super Overdrive delivers a premium stomp experience that fans of...
